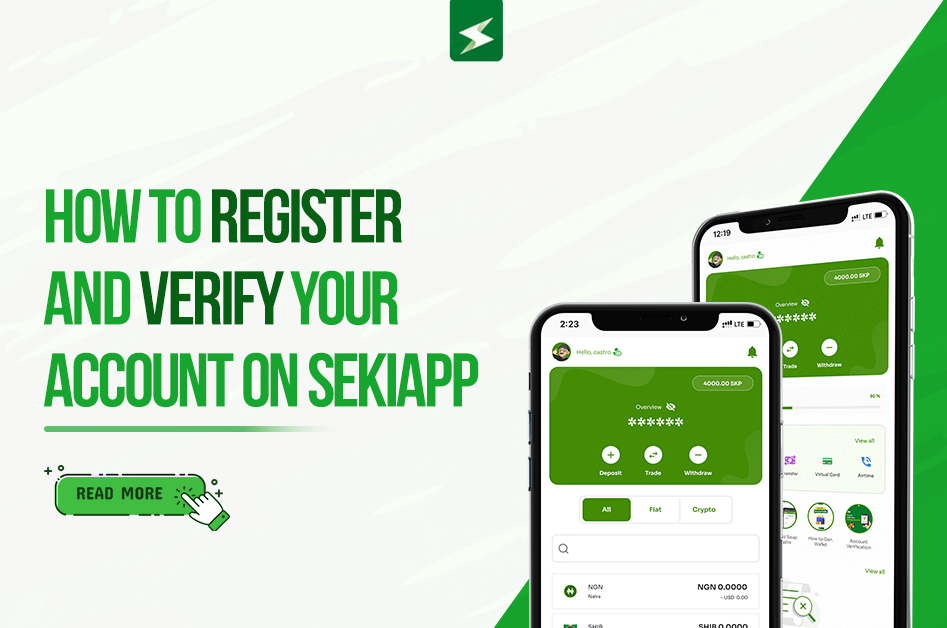
SekiApp, your gateway to the world of cryptocurrencies and financial freedom, begins with a simple yet crucial step – registration and verification. However, this initial process can sometimes feel like navigating a maze. Worry not; we’re here to shed light on the path to seamless registration and verification on SekiApp.
Different Ways to Get Verification Codes on SekiApp
Before we dive into the intricacies, let’s understand the two primary methods for verification on SekiApp.
Email Verification:
This method involves receiving a verification code sent to your registered email address. It’s a critical step to ensure the security of your SekiApp account.
Phone Number Verification:
Phone number verification entails receiving a code via SMS to the mobile number you’ve linked to your SekiApp account. This step enhances the security of your account and facilitates essential functionalities like two-factor authentication.
Reasons for Verification Failure
Verification can sometimes hit a roadblock. Let’s explore some common reasons behind verification failures:
Use of Expired Code:
Attempting to verify your account with an expired code is a common mistake. These codes have a limited validity period, so be sure to use them promptly.
Inputting the Wrong Code:
Typing errors happen to the best of us. A simple typo while entering the code can lead to verification failure.
Wrong Email Address:
If you’ve entered an incorrect email address during registration, you won’t receive the verification code in the first place.
Verification Code Received in Spam Folder:
Emails containing verification codes might end up in your spam folder. Always double-check this folder if you’re missing your code.
Wrong Phone Number:
A mismatch between the phone number you provided and the one you’re trying to verify can cause a failure.
How to Get Verification Codes and Fix Verification Failure
Now that we’ve pinpointed potential issues let’s explore how to get those codes and resolve verification hiccups.
Checking Your Spam Folder (For Email Verification):
If you suspect your verification email has gone astray, check your spam folder. Sometimes, email providers can misclassify these important messages.
Uninstall and Reinstall to Input the Correct Email Address:
If you realize you’ve entered the wrong email address during registration, don’t worry. Simply uninstall and reinstall the app to provide the correct email information.
Edit the Phone Number and Input the Right One:
For phone number verification, ensure the number you’ve input is accurate. If there’s a mistake, you can edit it in your account settings.
Removing Your Phone from DND During the Verification Process:
If you’re not receiving SMS verification codes, your phone might be on the “Do Not Disturb” (DND) list. Temporarily disable DND to receive the code.
Conclusion
Registering and verifying your SekiApp account need not be an enigmatic quest. You don’t need to summon Sherlock Holmes or enlist the services of a CID agent to decipher the verification codes. By following these simple steps and addressing common verification pitfalls, you’ll be well on your way to unlocking the full potential of SekiApp. Welcome to a world of financial freedom!


2 Comments
[…] rewards, earning you more than you’ve ever dreamed of? It’s time to buckle up because SekiApp is about to take your hustle to the next level with something that’s going to blow your […]
[…] the benefits of digital assets and engaging in games like Spin-the-wheel to make users win prizes, SekiApp‘s presence was an educational and entertaining opportunity for those curious about financial […]